Tradesman are going up and up in price and while I definitely hire them for certain jobs, there are plenty of things around the house you can do yourself. Save yourself money by DIY-ing your own shelves. This can work for a cupboard, alcove or any other area in your home. If I can do it, you can too!

Clear the space
I had existing shelves in the space that I needed to rip out first. The brutal destruction of these did leave some holes in the wall, which I patch plastered and sanded down to make the wall good again.

Measure time
Now, with any DIY project, the preparation and the planning will often take just as long as the project itself, but this stage is key. I measured the space and worked out how many shelves I could fit in the area. I also needed to know the width and depth of my cupboard.
Choose your materials
I’m no expert when it comes to DIY (still very much in the learning phase) but I chose MDF for this project in 18mm thick – to me this seemed very sturdy and now it’s complete I would say was probably the right choice for the job. I also used strip wood (also known as pine wood) for the batons for the shelves to rest on.
Wardrobe Organisation Hacks I Swear By
14 Painting Tips & Truths That Nobody Tells You
Ask for help
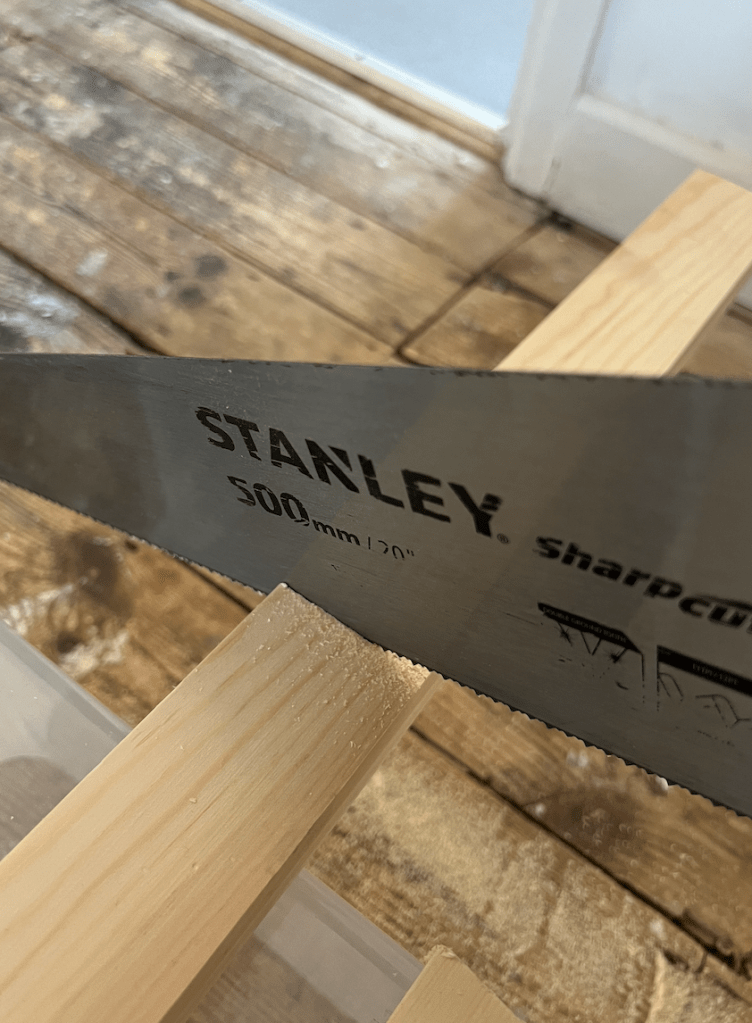
B&Q have a really amazing free cutting service when you buy wood from them (you get five free cuts and the next ones cost 50p each). I took full advantage of this for my shelves, giving them the dimensions and getting perfectly straight cut shelves. If you don’t have this option, ask around your family for someone who has a power saw as this will give you a much better finish than a hand saw. But you will need a hand saw for the next bit…
Prepare and secure the batons
I cut the batons with a handsaw as precision was not key here. I then screwed two screws into them and used this as a guide to mark on the wall where I would need to drill my holes. I then drilled holes, added raw/rawl plugs and screwed the screws in. Top tip, do one hole first, then use your spirit level to check you’re getting the other one straight. Straightness is very important as these batons will be what your shelves rest on.

Add your shelves
Once your batons are fully secure, you are ready to rest your shelves on top – the moment of truth! I was delighted to find all but one of mine were perfectly level. To fix the non-level one I simply glued a wedge of wood to the top of one of the batons to straighten it out. The batons aren’t seen once the shelves are on so it doesn’t really matter.

Prime/paint/decorate
Now the fun bit, to make your shelves look pretty. My original plan was to paint the whole of the inside of the cupboard – wall and shelves, but in the end I decided to keep the shelves wood for the contrast. The choice is yours!

Here are the finished shelves:
Any questions, please drop me a message below.
Happy DIY-ing!
R x

Leave a comment