
I love using Instagram for inspiration – for everything from fashion and interiors right through to bars, restaurants and holidays and when I see something I like I usually save it. Cute twisted candles have been in my saved collection for a while so when I spotted coloured tapered candles in Flying Tiger for 50p each, I decided to take the plunge. They are surprisingly easy and totally worth a go!
What you need for twisted candles
- Tapered candles
- A vase
- Hot water
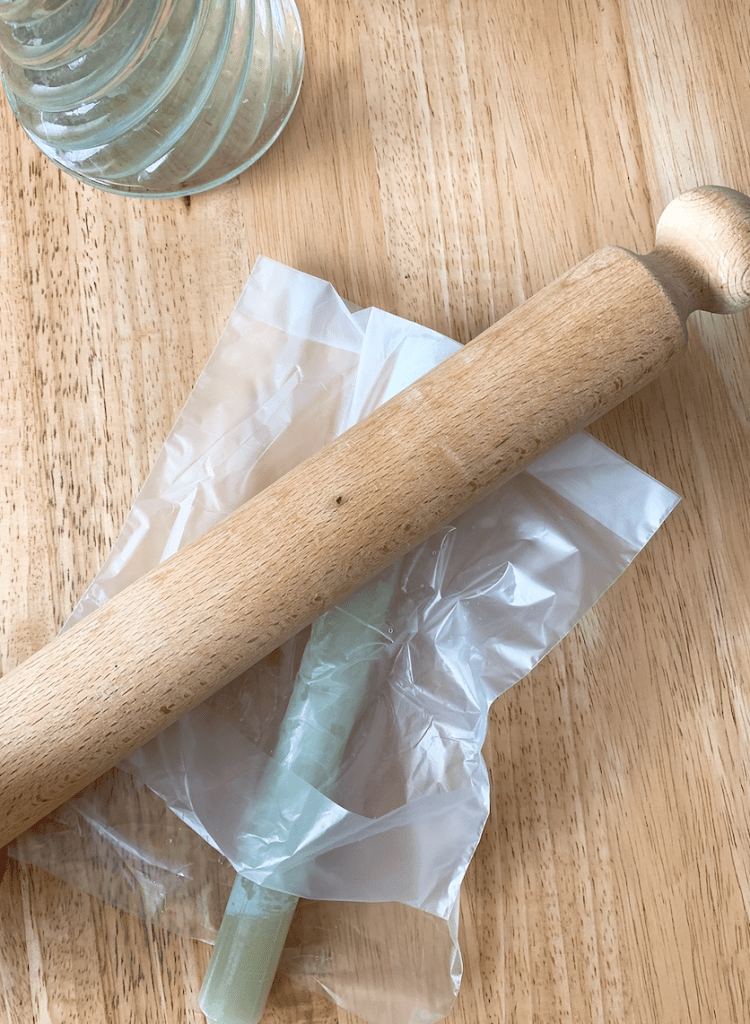
- A rolling pin
- A sandwich bag
- A candle holder


How to make twisted candles
-Fill a vase with hot water (not boiling but pretty hot) and submerge your candle with one inch at the top not covered by the water.
-Leave your candle for around 15/20 minutes to soften.
-Remove your candle and place into a sandwich bag (so you don’t get wax on your rolling pin).
-Roll out your candle carefully with a rolling pin – being sure to leave one inch unrolled at the top and bottom – you don’t want to disturb the wick at the top and bottom needs to be fat enough to fit your candle holder.
-When you candle is flat, remove it from the sandwich bag and gently twist with your hands. At this stage, if it is too hard to move, simply submerge again in hot water for a little longer.
-Once you are happy with your twisted design, simply leave to harden up.
-Pop into your candle holder and and voilà!

You will find that the more you do, the better you get so I’d suggest buying a batch if you want a few test goes first.
Leave a comment below if you decide to try them for yourself.
R x

Leave a comment