Since the nail salons are still not able to open, you may be attempting to do your own mani at home. Here are some useful tips to ensure a flawless paint job every single time.


1. Smooth operator
After you’ve cut and filed your nails to your desired shape, the next step is really important. Use a buffer to smooth out the surface of the nail to create a perfect canvas for the nail varnish. You can pick up handy four-sided buffers in the pound shop or any pharmacy.
2. Push it real good
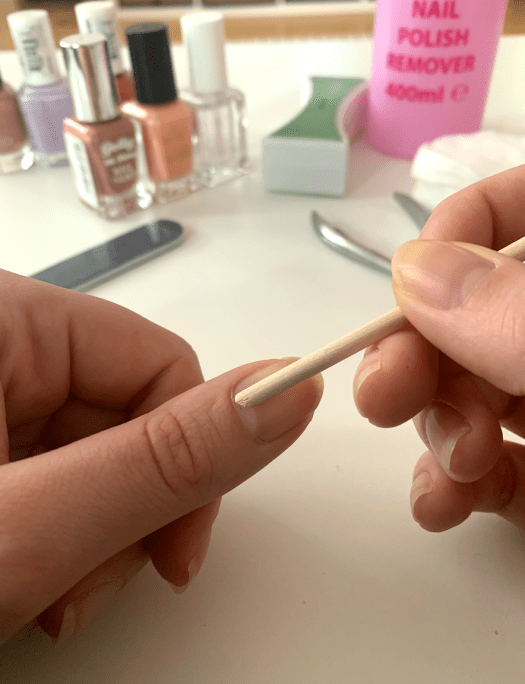
Always push your cuticles back with a cuticle stick and then trim them with cuticle clippers. This will make your nail bed look longer and neater – an essential for a professional-looking manicure. Side note: cuticle clippers do take a while to master and are quite fiddly to use on yourself, so make sure that you are patient.
3. Minimal strokes
If you’ve ever been mesmerised by the nail technician as they transform your nails from drab to fab, you may have noticed that the key to a flawless application is to use as few strokes as possible – ideally one big one up the middle of the nail and then one either side, perfectly meeting the edge of the nail. Once you start doing lots of little strokes, or going over the same bit twice, it gets very messy.
4. Grab your coat
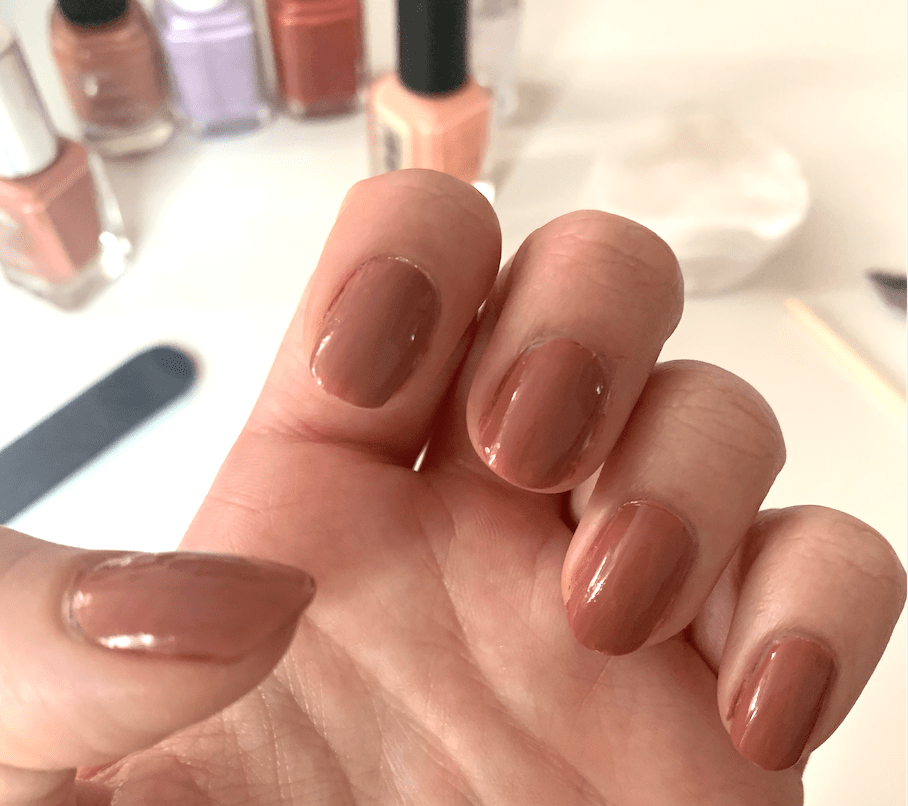
I always seem to get compliments on my DIY manis and I think it is usually down to the high-shine finish. I ALWAYS use a base coat and a top coat to ensure a professional look. Never ever skip these steps. This one from Barry M is great, as it works as a base coat and a top coat.


5. On the edge
While on the subject of top coats, how you apply this is also very important. Once you’ve coated the nail in the same way as you’ve applied the colour, take the brush and gently glide along the very tip of your nail as this will seal the end to prevent any chips.
6. Cold blast
One top tip that I learnt years ago, which I still absolutely swear by is running your nails under cold water to harden and dry the varnish. It seems so counter intuitive to place your perfectly manicured nails under the tap, but after 2-5 mins of drying time a cold blast will just speed up the drying process. Honestly, try it – it’s a game-changer. I’ve also used drying drops in the past, which are pretty good, but the water option is just as effective!
7. Hands-free
This is the hardest step of all to actually implement, but it’s probably the most important. You need to not do too much with your hands while waiting for your nails to dry. Unlike gel manicures, normal nail varnish takes an age to actually set. It’s usually typical that I’ll want to use the loo or make a cuppa as soon as I’m finished my nails, but whack on a Lydia Millen vlog or listen to an engrossing podcast to ensure you stay put and keep your mitts off anything for a good amount of time.
Good luck with your nails! I’d love to hear what you think of these tips.
R x

Leave a comment